This is the full account of one commission: a nine-foot black walnut river table with a smoke-gray translucent channel down the middle, on a blackened steel base, for a dining room that seats ten. It took about eleven weeks from slab selection to delivery. Here is how it actually went, including the parts that are tedious and the parts that go wrong.
Sourcing the slabs
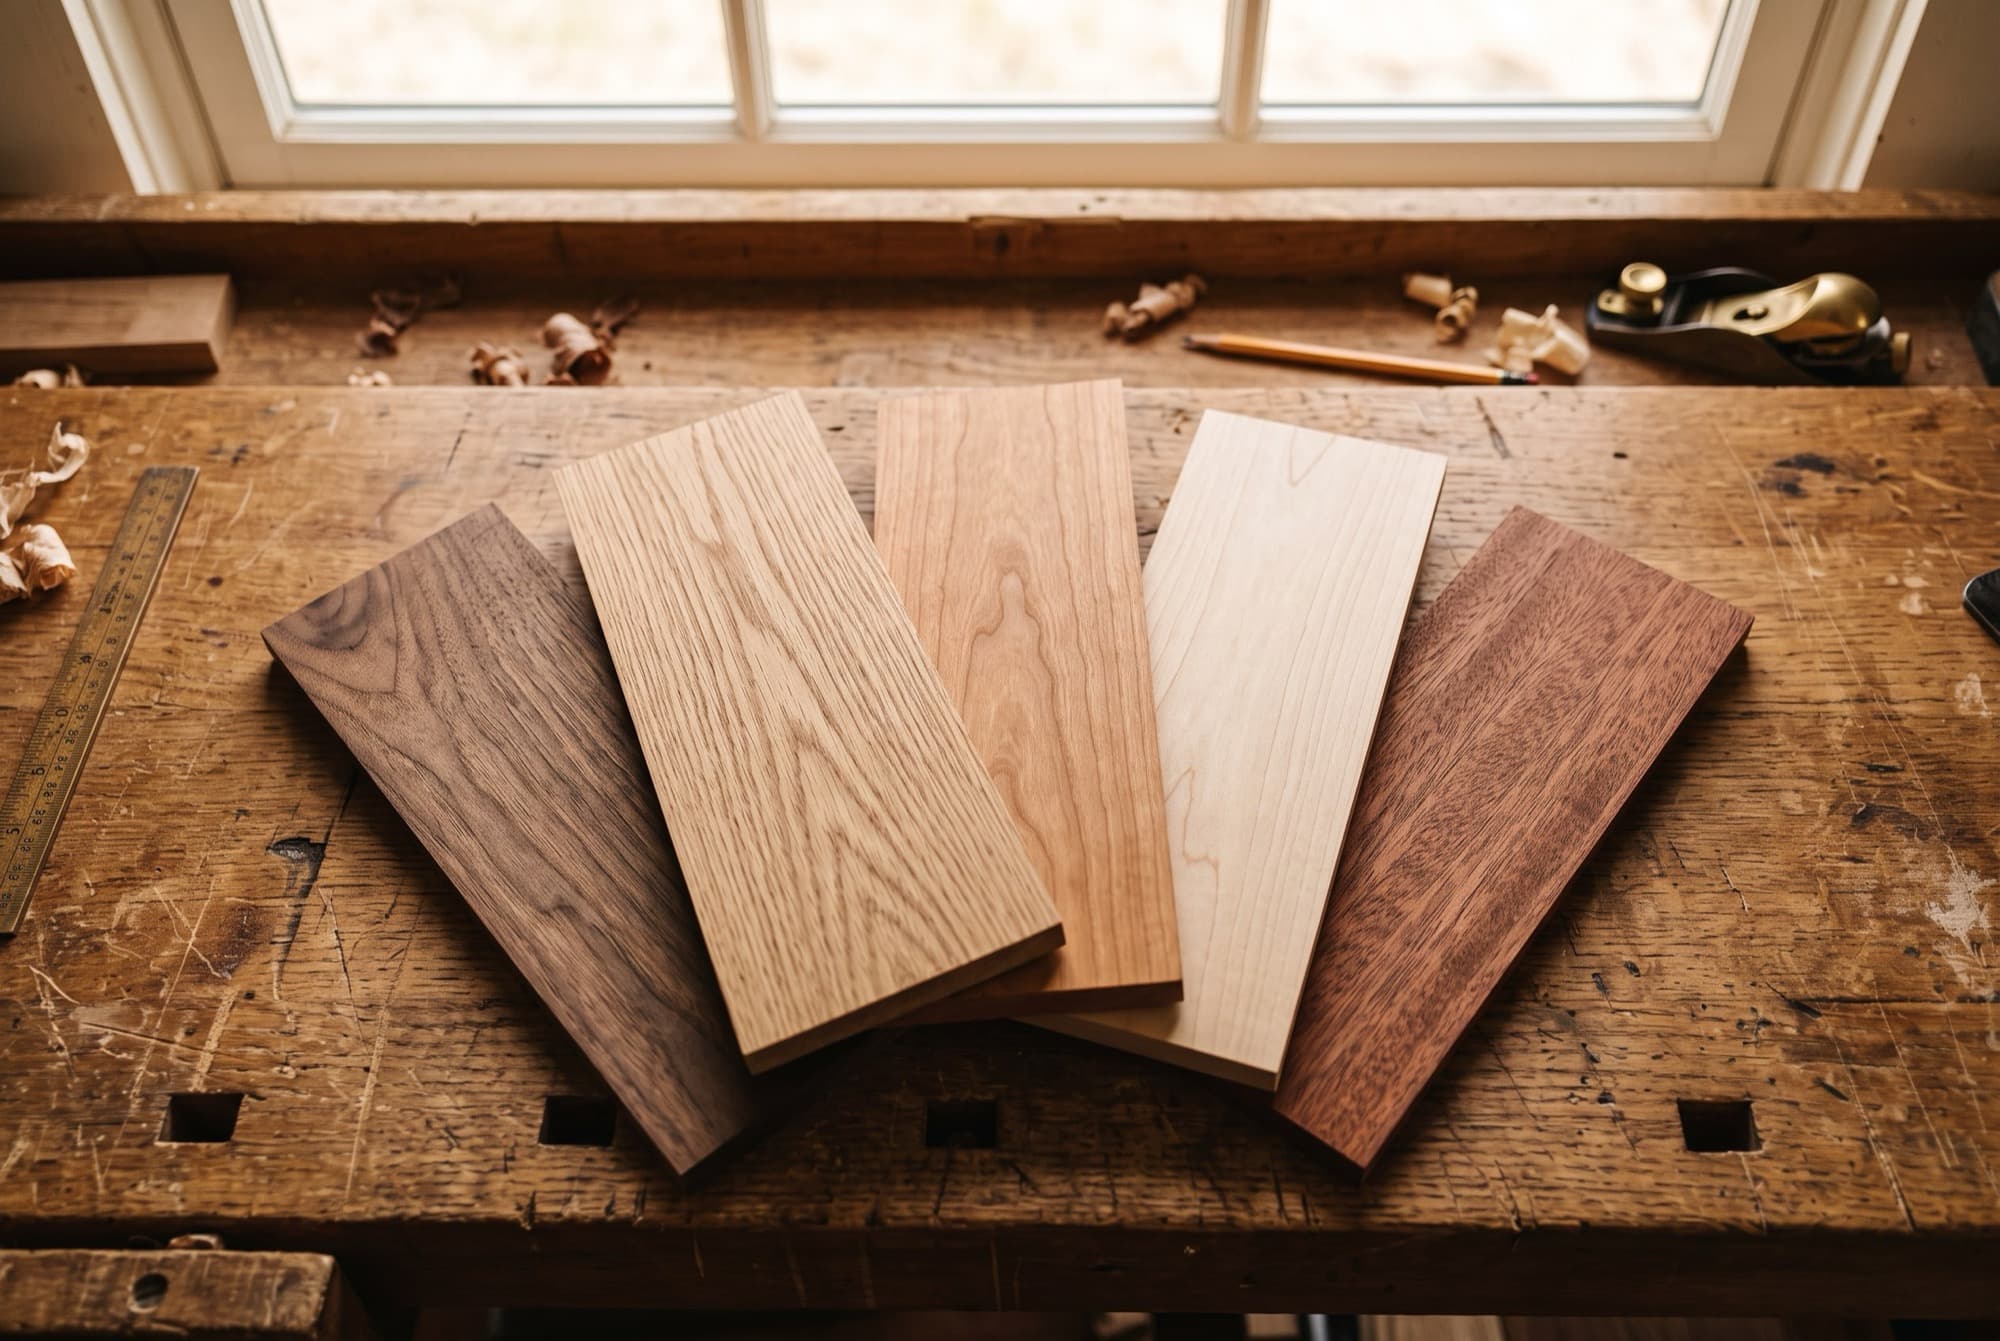
A river table lives or dies on the slabs, and we spent a full day at the yard choosing these. We were after two book-matched pieces from the same log, so the live edges would mirror each other across the resin channel. The pair we picked were black walnut, roughly 10 feet rough length, 14 to 18 inches wide each, and a full 8/4 (two inches) thick, which gives us material to lose to flattening and still land at a substantial finished thickness.
The number that matters most before anything else is moisture content. We will not pour epoxy against wet wood, because the slab will keep moving and can pull away from the resin or crack later. These had been kiln-dried and read 7 percent on the meter across several spots, which is where we want a slab destined for a heated home. We let them acclimate flat in our shop for two more weeks anyway, stickered with airflow all around, before touching a tool.
Flattening
Rough slabs are never flat, and these had the usual gentle cup and twist. We flattened them with a router sled: a planing jig where a router rides a flat carriage over rails, taking shallow passes to establish one true reference face, then flipping to bring the second face parallel. It is slow and it makes a mountain of chips, but it is dead reliable and it is how you get a genuinely flat two inches of walnut without a wide-belt sander the size of a car.
With both faces true, we cut the live edges only where needed, cleaned the bark down to sound wood, and dry-fit the two slabs with the gap between them that would become the river. We tuned that gap by eye until the mirrored edges looked right, roughly 2.5 to 4 inches of channel that widened and narrowed the way a real river does. Then we sealed the bare walnut edges that would meet the epoxy with a thin skim coat of resin, which stops the porous end grain from off-gassing bubbles into the main pour.
The mold and the pour
The mold is unglamorous and completely decides whether the pour succeeds. We built it from melamine (slick, so resin will not stick), sealed every seam with silicone caulk, and lined the contact faces with sheathing tape as a second release layer. A single pinhole leak at this stage means a slow catastrophe overnight, so we over-caulked and checked twice.
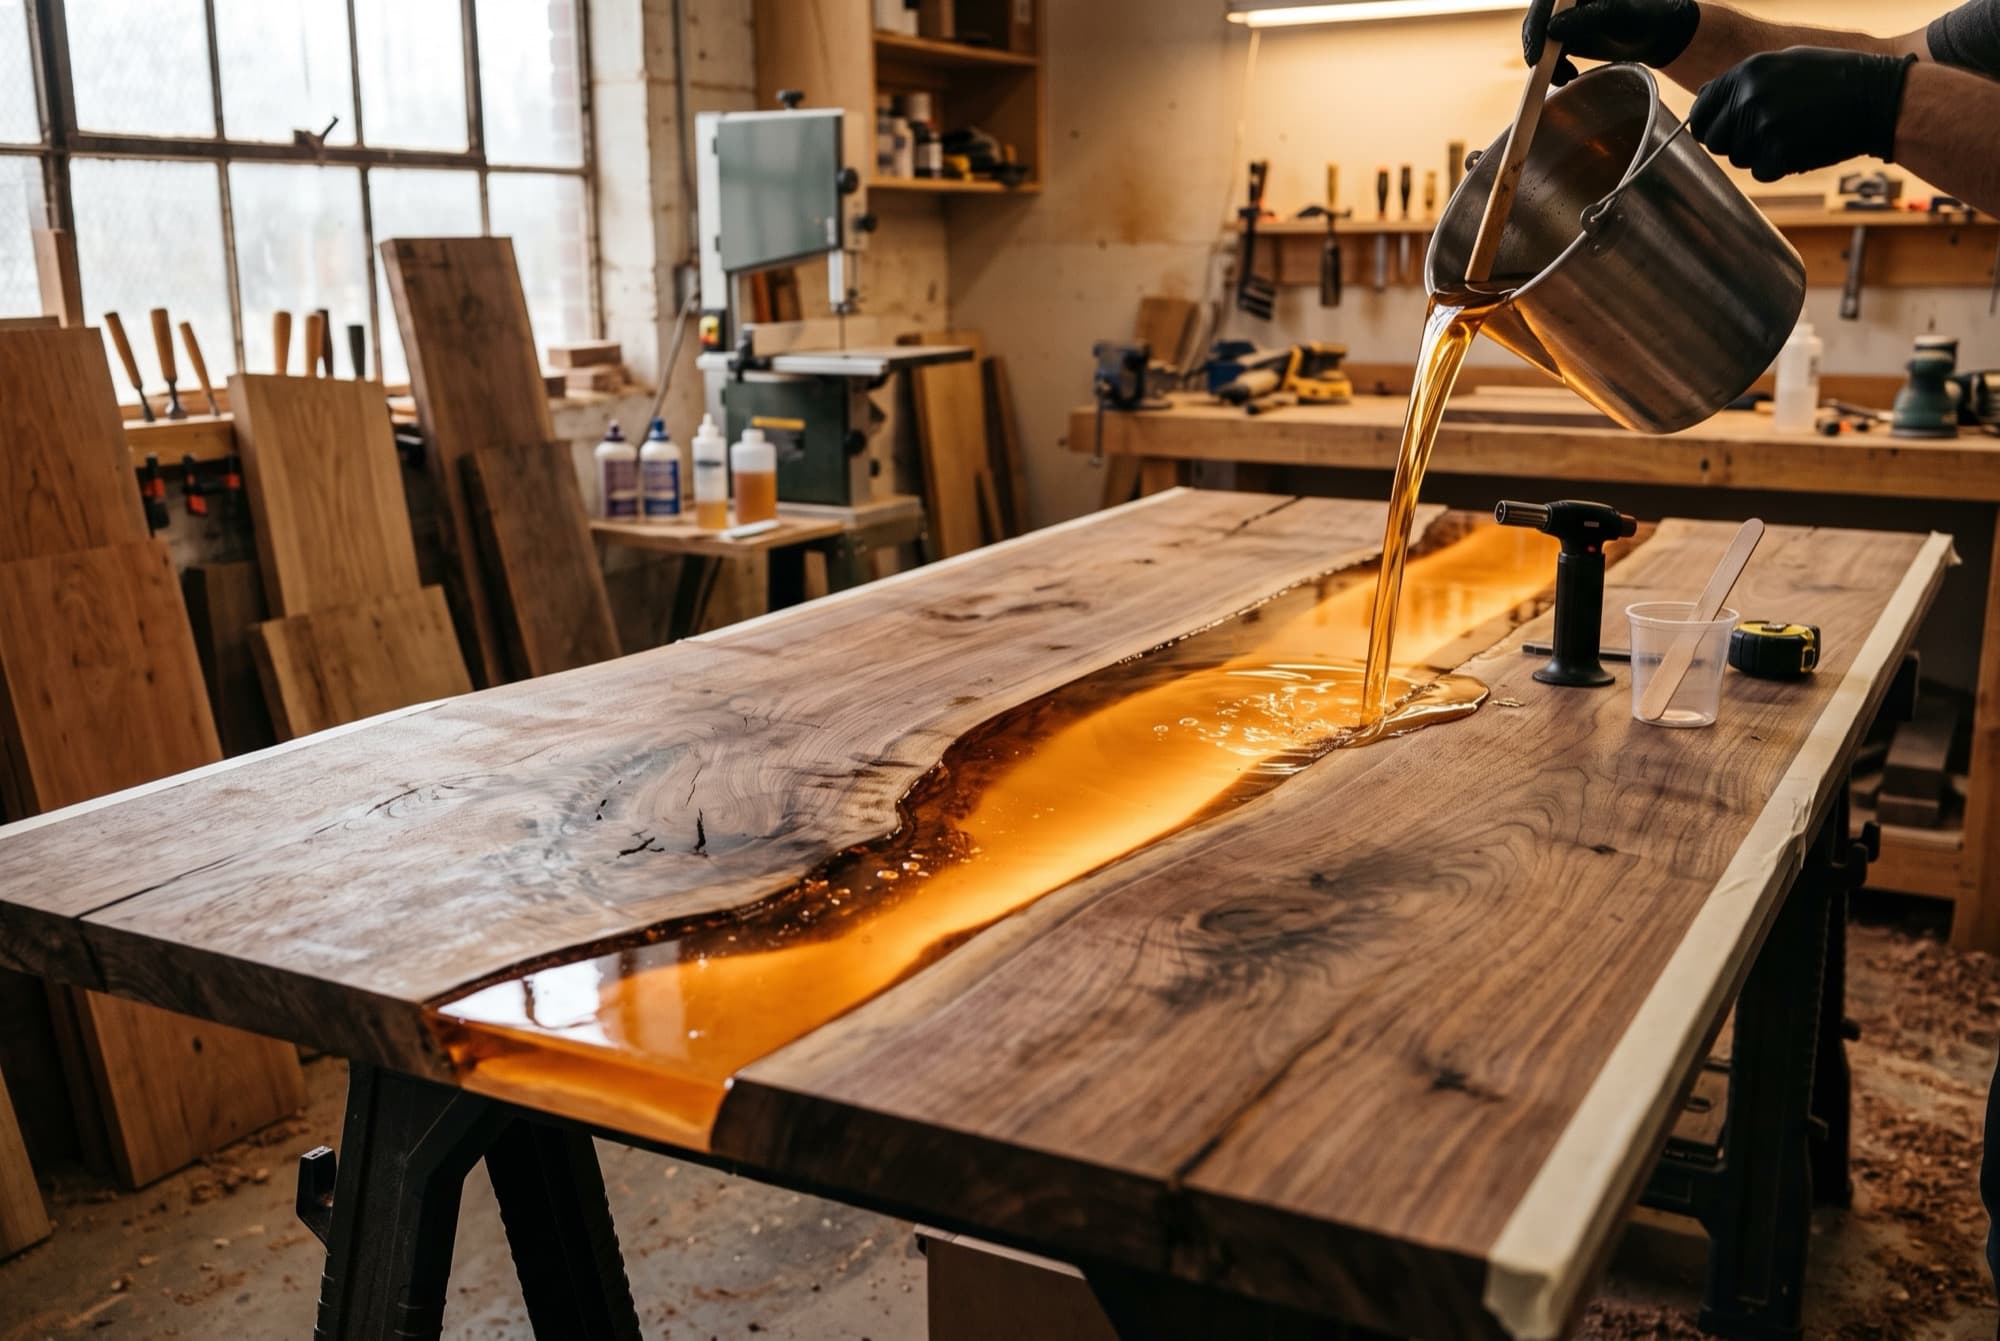
We used a deep-pour epoxy, the kind formulated for casting rather than thin coating. That distinction is everything. Deep-pour resin cures slowly and gives off less heat, which is what lets you pour thick without it cooking itself. Even so, these products are rated for a maximum lift, commonly around two inches per pour, and you respect that number or you get cracking, yellowing, and in bad cases enough exotherm to warp the mold. Our channel was about two inches deep of resin, so we poured in three lifts to stay comfortably under the limit.
Shop temperature was the quiet hero of this job. We held the space around 72 degrees for the whole pour and cure. Cold slows the cure and traps bubbles; hot accelerates the exotherm and risks cracking. Boring, stable, 72 degrees is what you want.
We tinted the resin with a small amount of black pigment plus a translucent component so the channel would read as smoke rather than opaque tar, letting a little light through at the edges. Each lift got mixed slowly to avoid whipping in air, poured, then passed over with a heat gun to draw the last bubbles to the surface. We waited roughly a full day between lifts so the previous layer was firm but still tacky enough to bond. After the final lift we left the whole thing alone for two weeks. Fully cured epoxy is dramatically easier and cleaner to machine than green, half-cured resin, and rushing this step ruins the finish.
Finishing
Out of the mold, the top was a rough, cloudy plank with resin spilled onto the wood faces. We flattened the whole slab again, lightly, to bring wood and resin into one plane, then began the long sanding climb. The wood we took up through the grits to about 180, the sweet spot for our finish. The epoxy is a different animal: to get it clear you keep going, through 400, 600, 1000, and up past 3000 grit, because every scratch you leave in resin stays visible as haze.
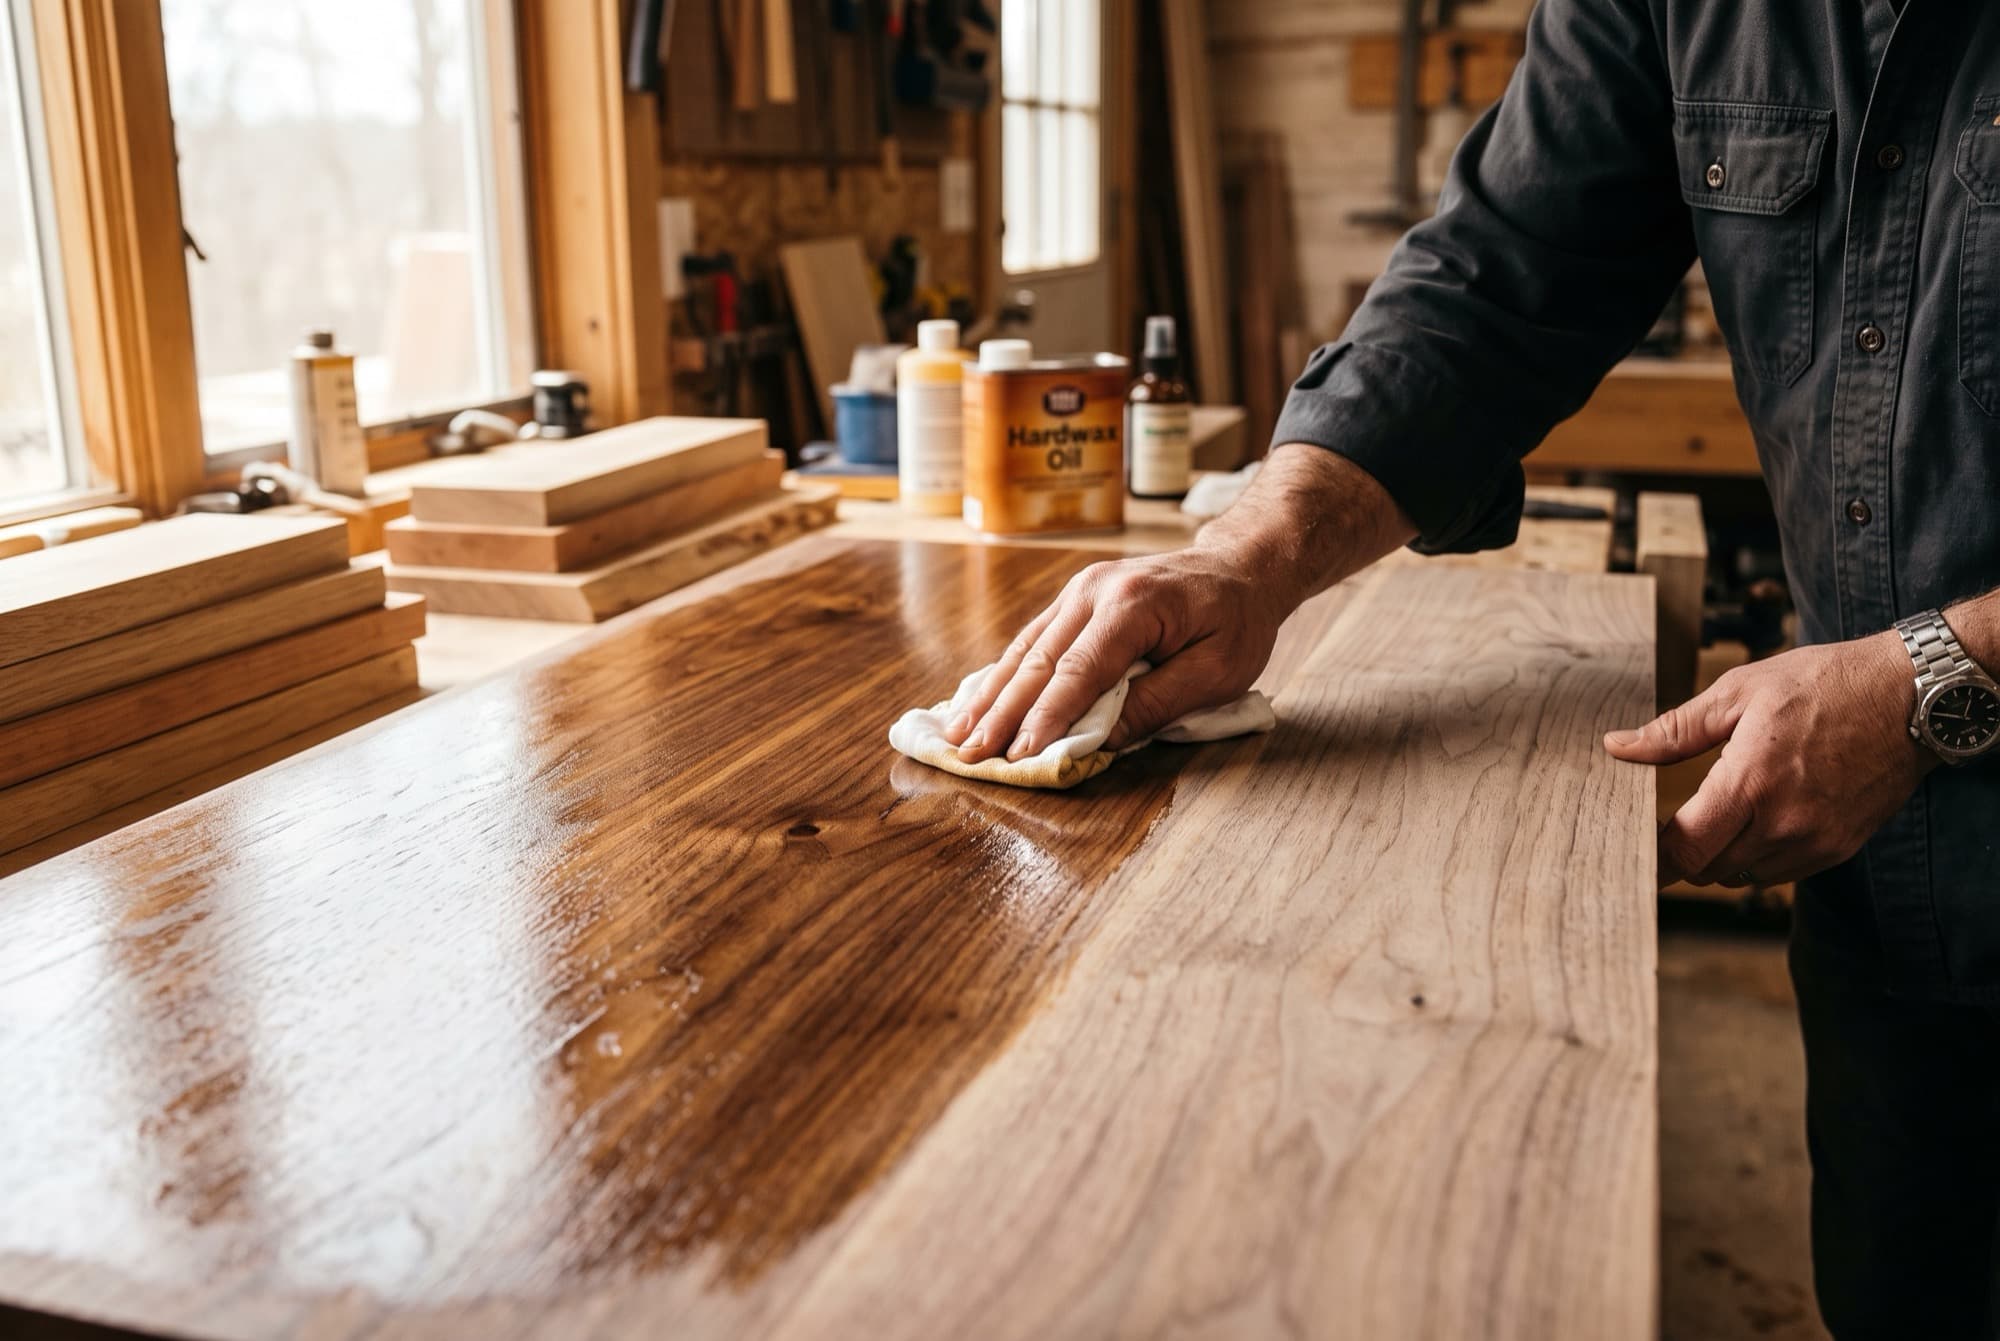
Then the finish itself. We wear nearly everything in hardwax oil, and this table was no exception. It was wiped on thin, worked into the walnut, and every trace of excess wiped off within about fifteen minutes, then buffed hard. Two thin coats gave the walnut real depth and left the surface feeling like wood rather than plastic, while the polished resin channel kept its own clarity. The base was fabricated separately: blackened steel, powder-clear-coated, trapezoidal legs sized so the nine-foot span would not sag or wobble under a full table.
Delivery
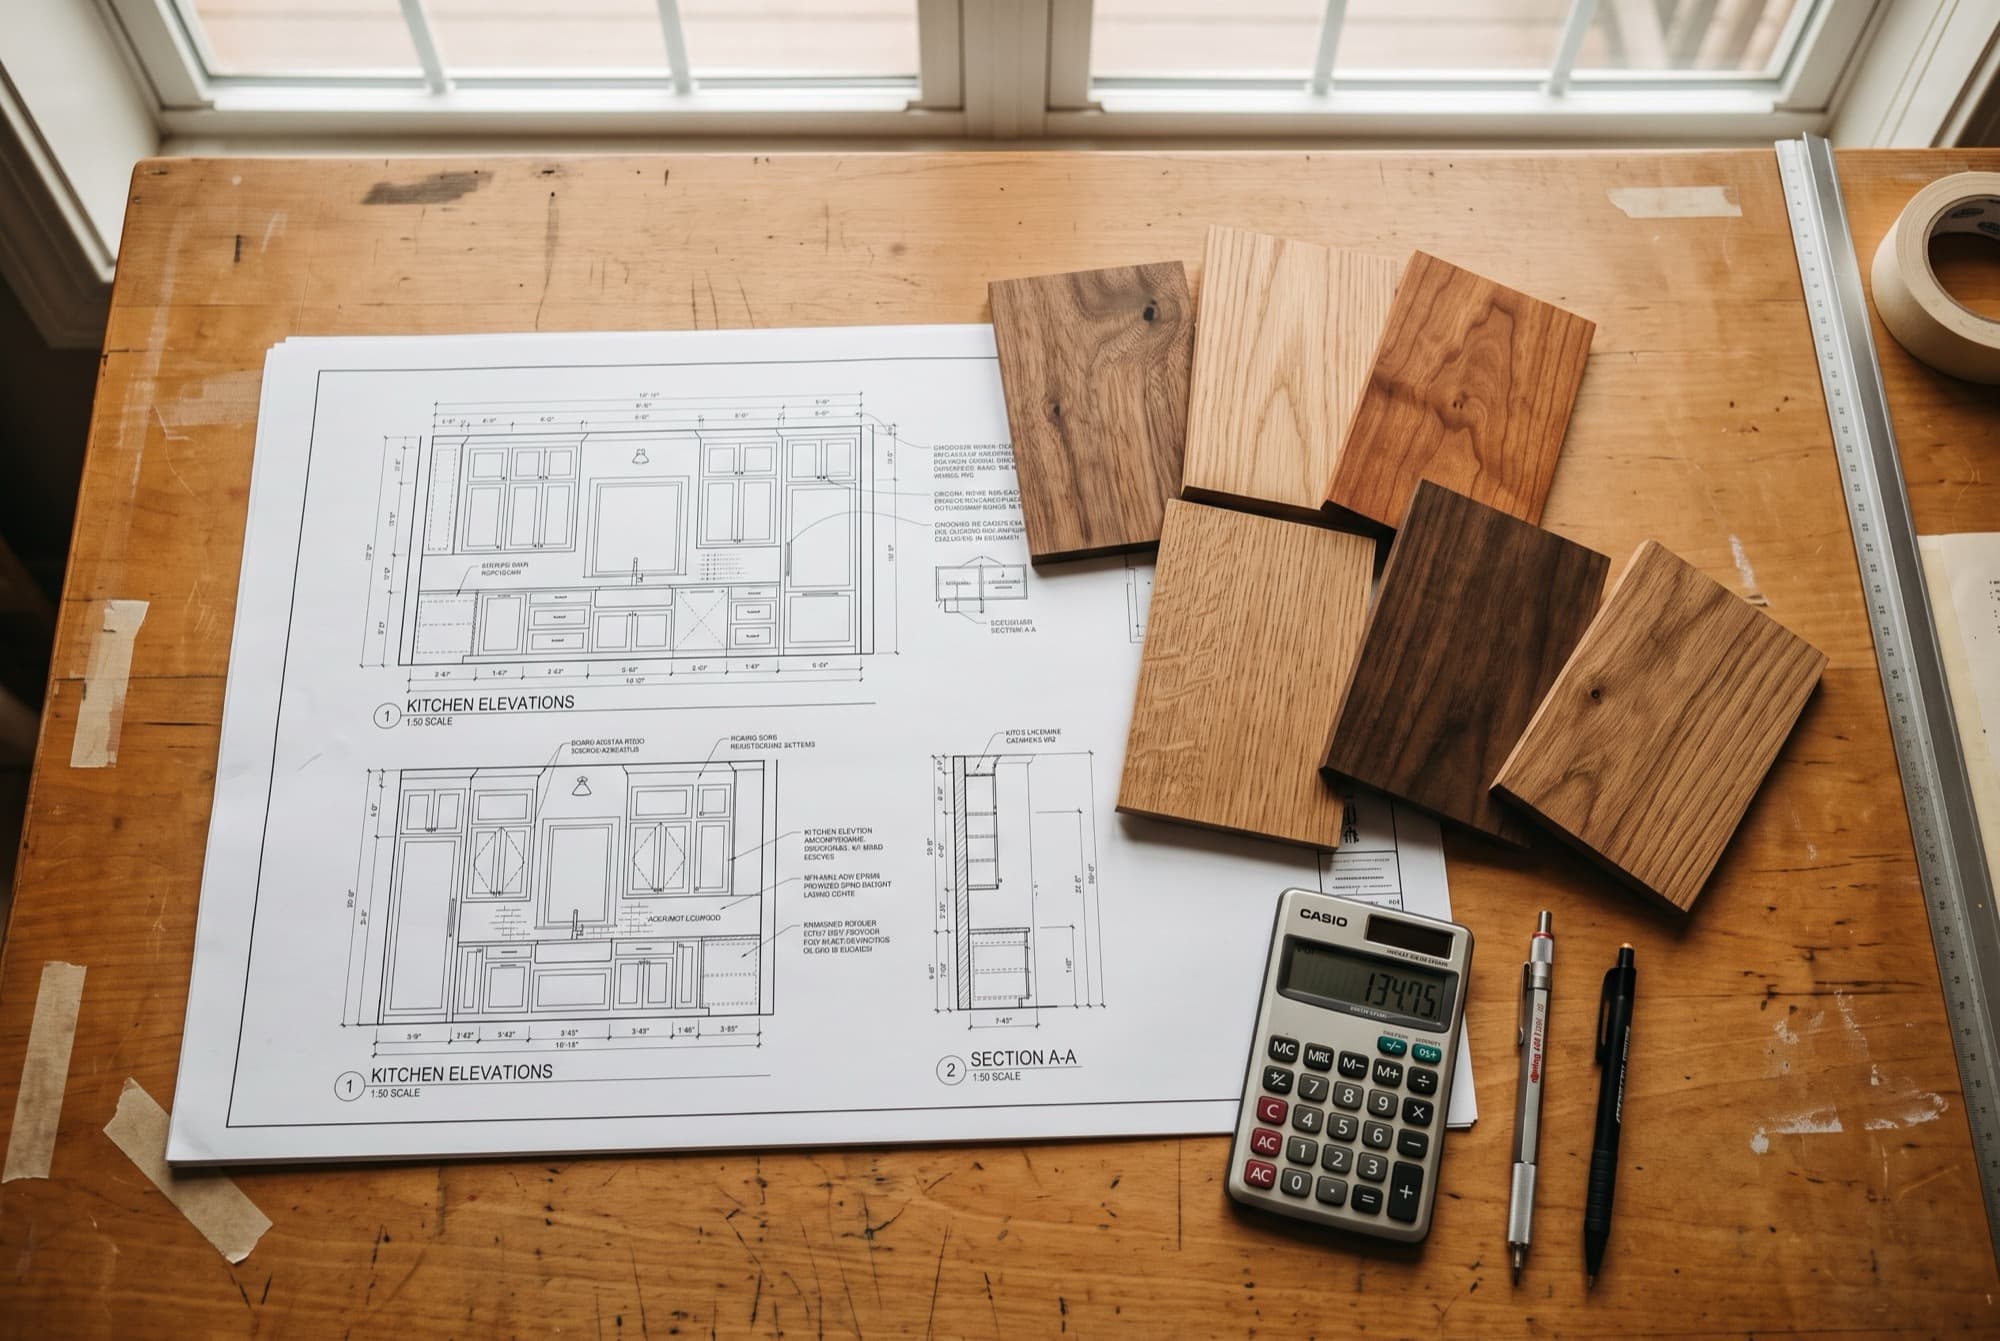
The finished top weighed a little over 300 pounds. This is the part nobody photographs. We move a piece like this with two people, moving blankets, a stair-climbing dolly, and a measured plan for every doorway before we load the truck. We had already confirmed the dining room doorway and the turn at the top of the client's stairs would clear, because a table you cannot get into the room is not a finished commission. Base in first, leveled on the floor, then the top set and secured to the base with slotted fasteners that let the walnut expand and contract across the seasons without fighting the steel.
Eleven weeks, three epoxy lifts, one very heavy lift up a staircase, and a table that should outlive everyone who eats at it. That is a river table, start to finish, with nothing left out.